|
|
Post by Clayton on Oct 11, 2014 3:58:23 GMT
Awesome work Alexander!
|
|
|
|
Post by alexander on Oct 11, 2014 17:31:30 GMT
Thank you for your encouraging words.
Clayton, you've built your model scratch, maybe based on the same plans.
Can you remenber, to have similar problems carving the crown sculpture?
The cord border around the griffons is completely visible at your model, but 2 of the 11 busts below you halved. Did you perhaps had a similar problem of a too narrow top of the stern?
Many Greetings,
Alexander
|
|
|
|
Post by Clayton on Oct 12, 2014 16:25:35 GMT
Hi Alexander, I am not sure what you mean by the 11 busts of which 2 I halved. But, I distinctly remember having this same problem with the upper stern. So the hull line drawing that the hull frames were formulated from and the drawing of the stern didn't match up, even after I sized the stern drawing to a different proportion than the rest of the plans. In other words the stern drawing doesn't even match to scale with the rest of the draws, and as I built it became apparent that it is also internally out of proportion, as you have found. So, rather than rebuild the whole stern section of my model once I got to the upper stern, I simply made a compromise and forced a sturdy chunk of birch (probably about half an inch wide and tall) into the stern between where the poop deck and the quarter deck were to go. Since I planned originally to plank over the poop and the sides of the sterncastle, no one would see this rouge or inaccurate structural member, and it's presence wouldn't matter. Doing this forced the sides of the sterncastle apart a little to give me more room to affix sculpture and make the poop and quarter deck closer to their actual width. But I was careful to not force it apart too much, which would give the model an unrealistic and unsightly run of the sides aft. I am glad that I noticed the lack of width compared to what is needed across the upper part of the stern early! Below is a picture of my model with the upper stern still open, but long after I installed this piece of wood. I put a red box around this rogue timber that I mentioned.  Hope this helps. Good luck! Clayton |
|
|
|
Post by alexander on Oct 14, 2014 6:37:05 GMT
Thanks for this interesting information, Clayton.
Then the plans in this area seem to be probably faulty. I measured my plans again: the top of the stern is too narrrow at the crown-sculpture. The sculpture is 320 cm wide in the original. The rear according to plan at this point is only 300 cm.
I would like to handle it, as you did it. Reduce the extent of the crown sclpture until it fits. Not nice but better then to cut off the edges of the carving
Greetings, Alexander
PS: I meant the 11 small balusters, situated below the crown sculpture. Alternating a woman and a man's head. Incidentally really amazing how well you have prepared this tiny faces. Here I come to the limits of my carving skills.
|
|
|
|
Post by Clayton on Oct 14, 2014 20:35:22 GMT
Oh! Now I get it. The sculpture of the young Gustavus Adolphus being crowned by the griffins. And thank you! Painting them at 1:144 scale when I built the Airfix model was a challenge too.
I knew the distance wasn't much of a difference, but could make a model look a little strange. Measuring a lot when setting up frames and before any deck beams are in helps quite a bit.
Cheers!
|
|
|
|
Post by alexander on Nov 19, 2014 10:43:54 GMT
Here's the result: Like Clayton, I scaled the drawing, to fit. As a result the lower arch has more curved. This I have redrawn. I also supplemented the lying Tritions on the top with Photoshop. because they are missing at my plans. The laser printout I then transferred with an iron on the box-plates. This method works perfectly when the surface is nice and smooth. 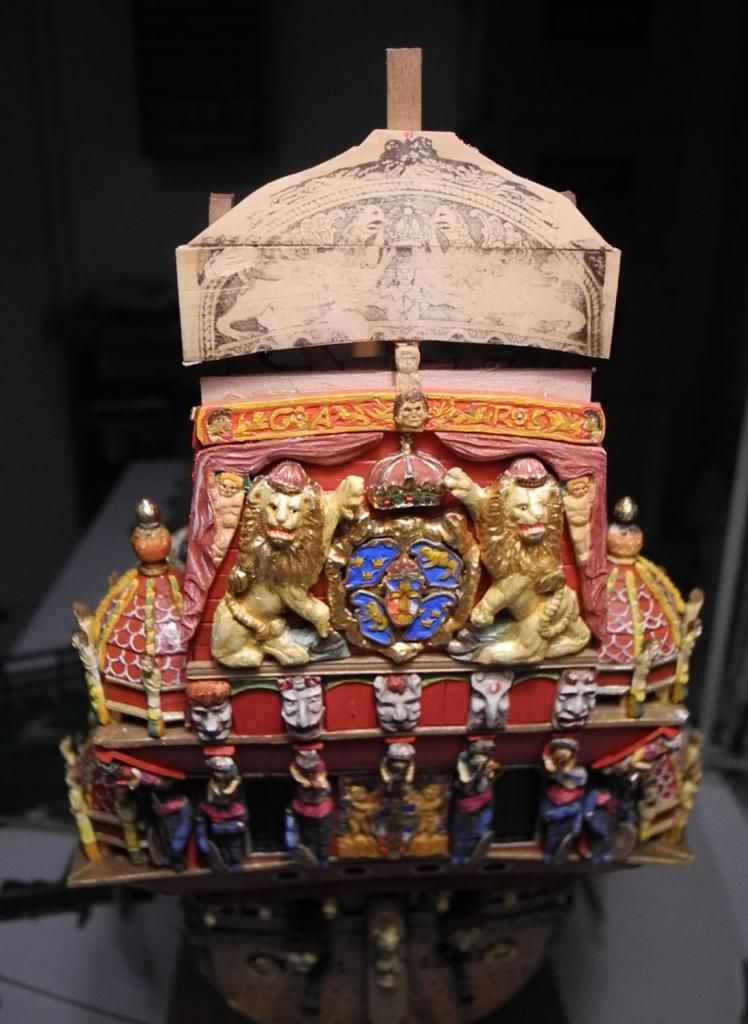 Then it was carved: 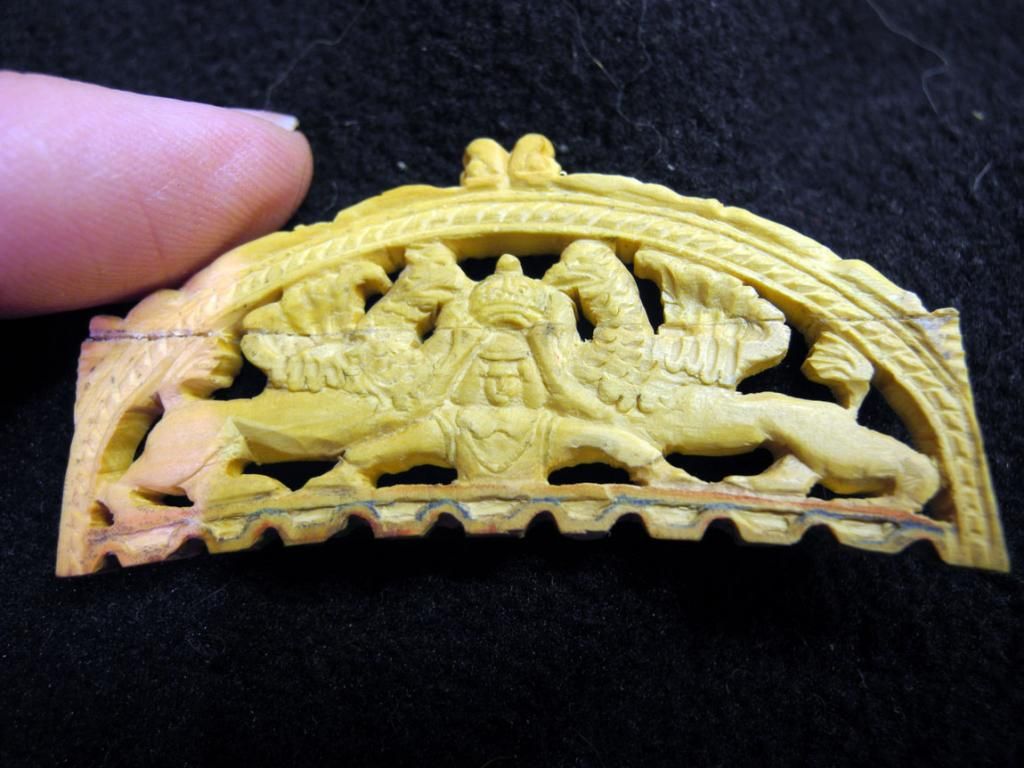 Below, I attached the 11 carved busts, alternately a woman and a man. These were pretty small for carving . I might have modeled them with better results. But wait and see how it looks when painted. 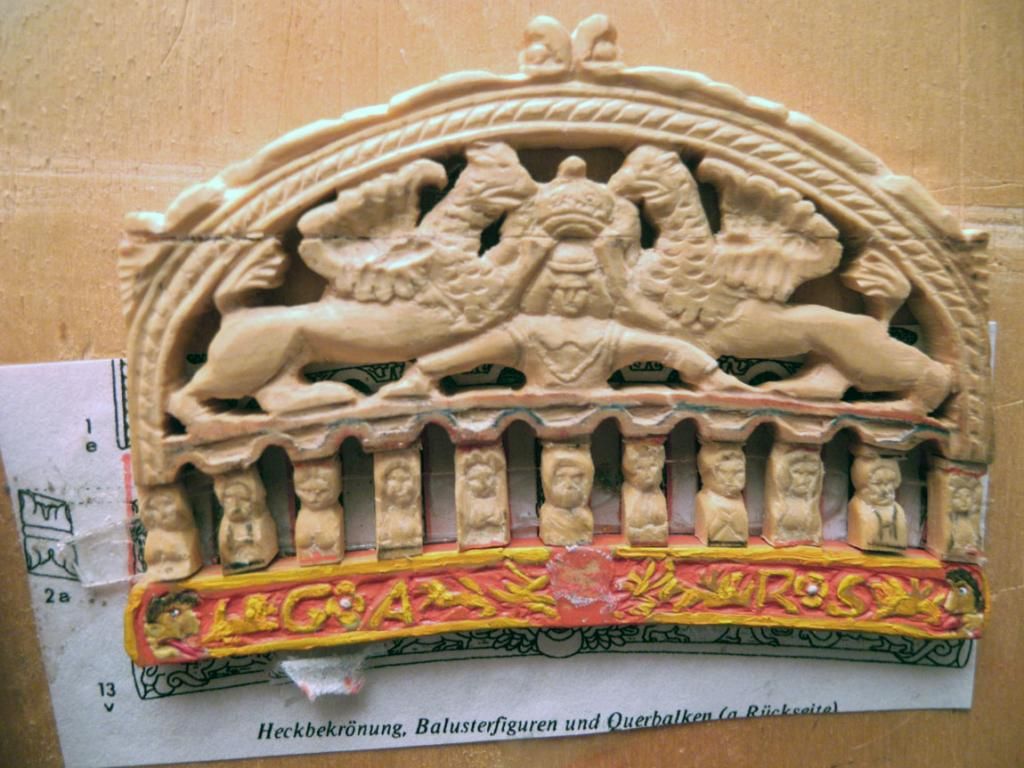 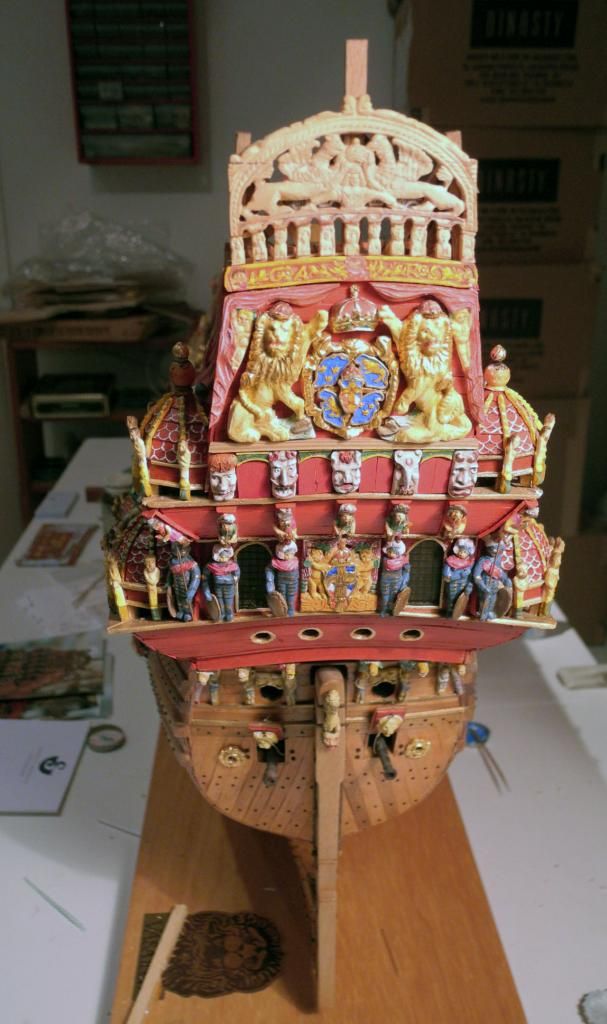 That's it for now. Regards, Alexander |
|
|
|
Post by matti on Nov 19, 2014 18:21:44 GMT
Nice Alexander! The shape looks very authentic.
/Matti
|
|
|
|
Post by alexander on Nov 20, 2014 11:27:39 GMT
Thanks, Matti
Cheers, Alexander
|
|
Duff
New Member

Posts: 20 
|
Post by Duff on Dec 12, 2014 11:17:58 GMT
Gorgeous~!
|
|
|
|
Post by vladfs on Dec 13, 2014 12:01:59 GMT
The model is very susceptible. Excellently!
|
|
|
|
Post by alexander on Dec 15, 2014 14:13:52 GMT
Thanks, Duff and Vlad, Here the painted crown sculpture: 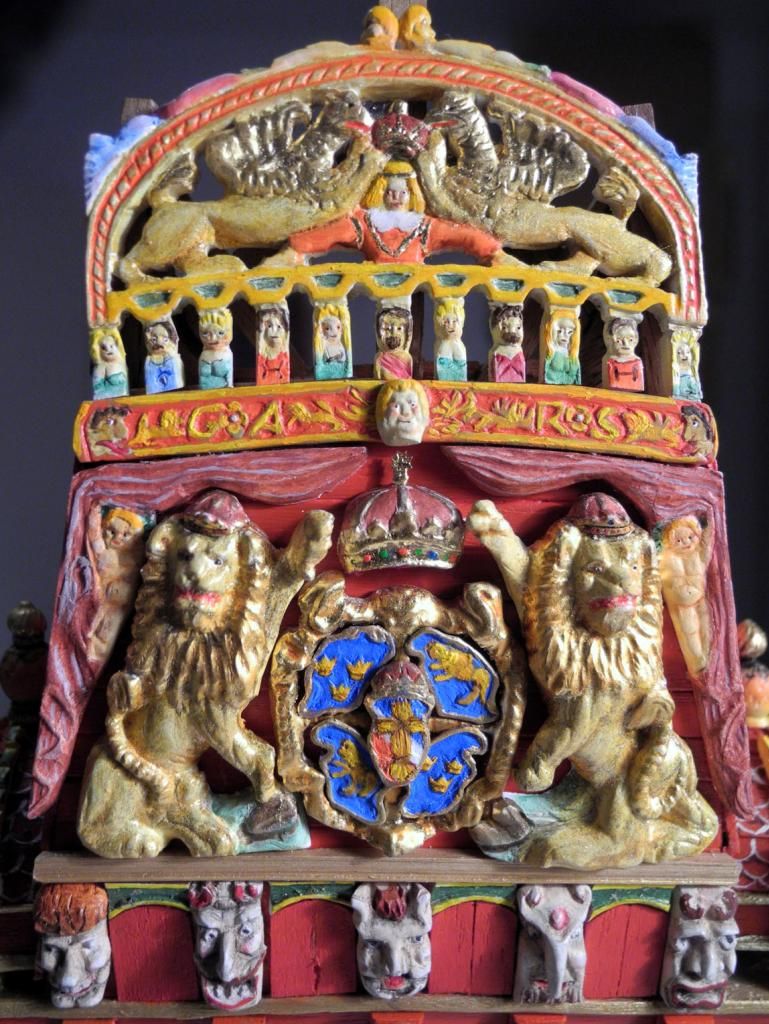 Cheers, Alexander |
|
|
|
Post by matti on Dec 22, 2014 11:43:52 GMT
Nice progress Alex! Will you paint the griffins gold like the 1:10 has them?
/Matti
|
|
|
|
Post by alexander on Dec 23, 2014 10:49:48 GMT
Hi Matti,
thank you!
I treated the griffins like the lions holding the coat of arms below. The griffins are leaf gilded at their heads, their wings, and their tag.
The rest of the griffins ist painted with oil colors and covered with a transluscent reneaissance gold color. But the glimmering is poorly visible at the photos.
I consider to add the green paint at the griffins' wings like the 1:10 model shows it.
Alexander
|
|
|
|
Post by alexander on Jan 12, 2015 14:13:27 GMT
The upper part of the stern was framed by two pillars (Find No. 288). 3 sides are richly decorated. The fourth was attached to the ship. The two posts I prepared roughly in their shape. The fine detailing will still need some time and a lot of effort.  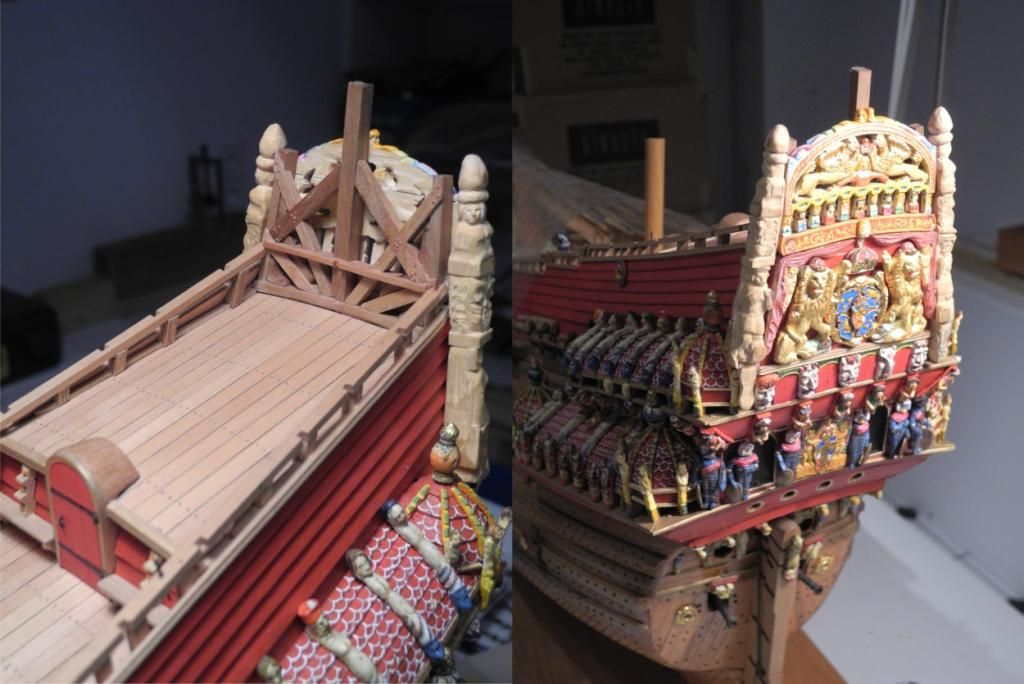 Regards, Alexander |
|
|
|
Post by alexander on Feb 10, 2015 14:51:28 GMT
Meanwhile, the two figures are ready carved ready and primed.  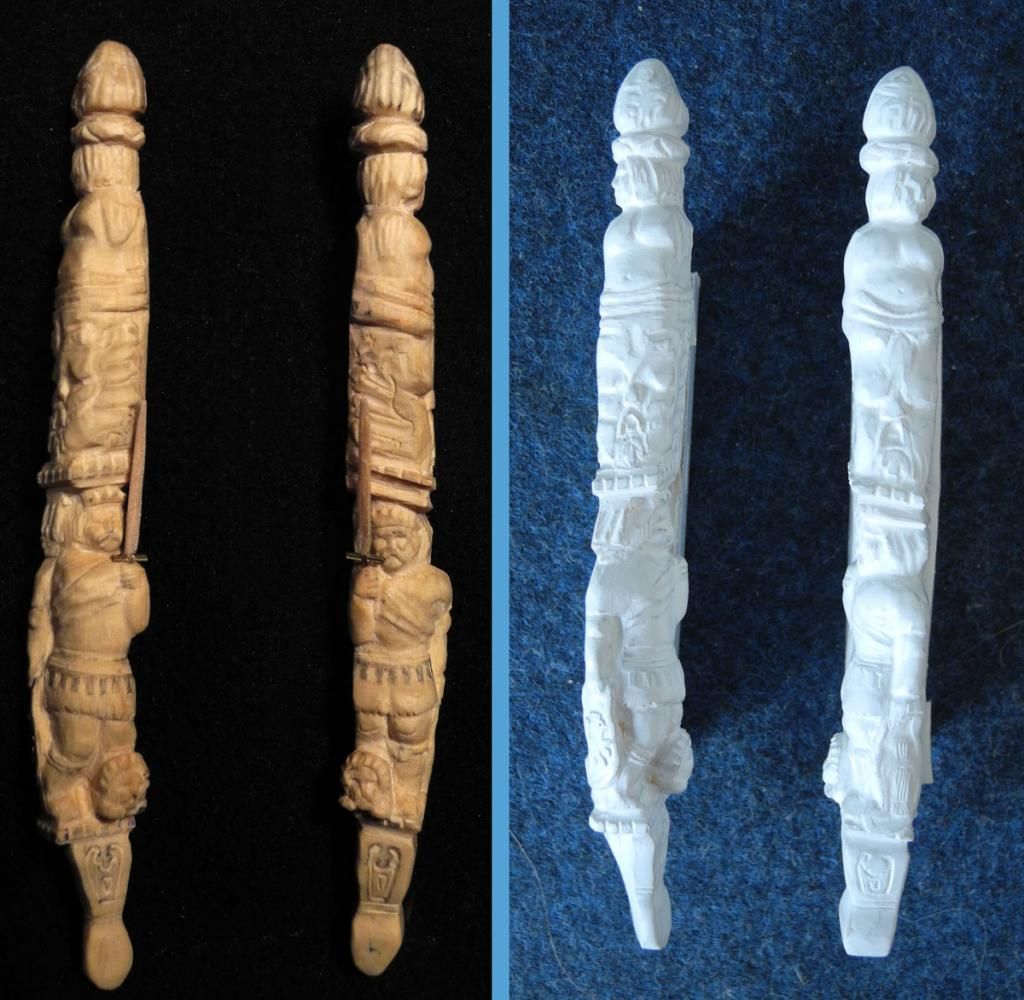 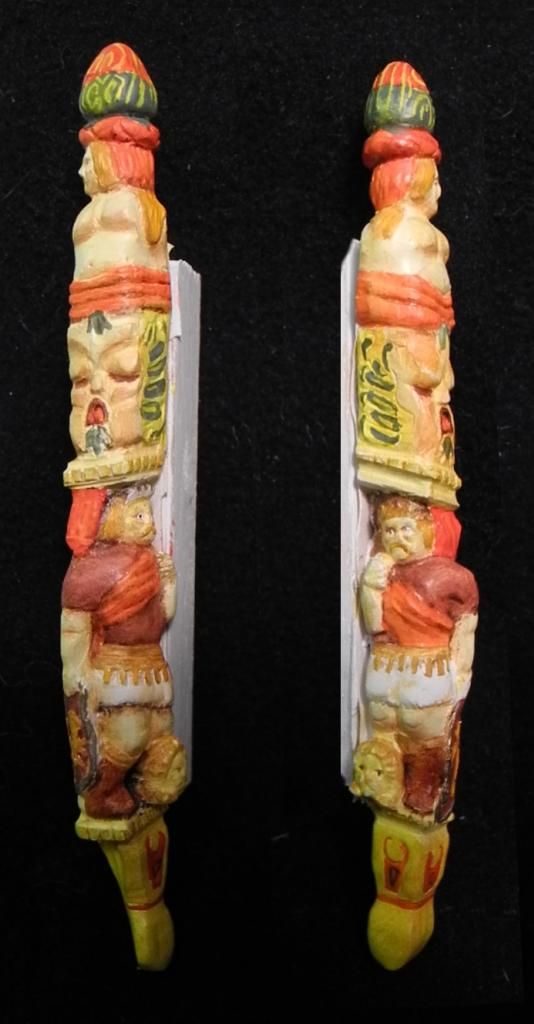 There are still missing some higlights on the hair and the crowns. Regards, Alexander |
|